Quick tutorial
Quick tutorial
This walk takes you through the core loop once: a chat with the Orchestrator, a mission the team plans and carries out, your approval of the plan and the result, the finished document in Work > Docs, and a job that runs every week. It takes about 30 minutes, most of it waiting for agents.
The examples use the made-up café from First sign-in, Harbour Street Coffee. If you briefed the team about your own work, use your own subject instead; the steps are the same.
Before you start, you need a provider showing Ready in Settings > Models (First sign-in, step 3).
Part 1: Chat with the Orchestrator
-
Open Chat and press New chat. A menu titled Who to chat with lists Whole team first, then every agent.
-
Pick Orchestrator. The right side shows an empty conversation with a message box that says "Message Orchestrator".
-
Type this and press Enter:
Hi! In three short bullet points, what can you and the team do for Harbour Street Coffee this week?Under your message you see "Orchestrator is answering…" with a running clock. The reply usually arrives within a minute. If nothing arrives after five minutes, or a red sentence replaces the reply, see When an agent does not answer. -
Look under the reply: it shows the model that answered and the tokens it used, for example
1,240 in · 180 out. The conversation now sits in the list on the left under Today, titled after your first message. Click its title in the header to rename it.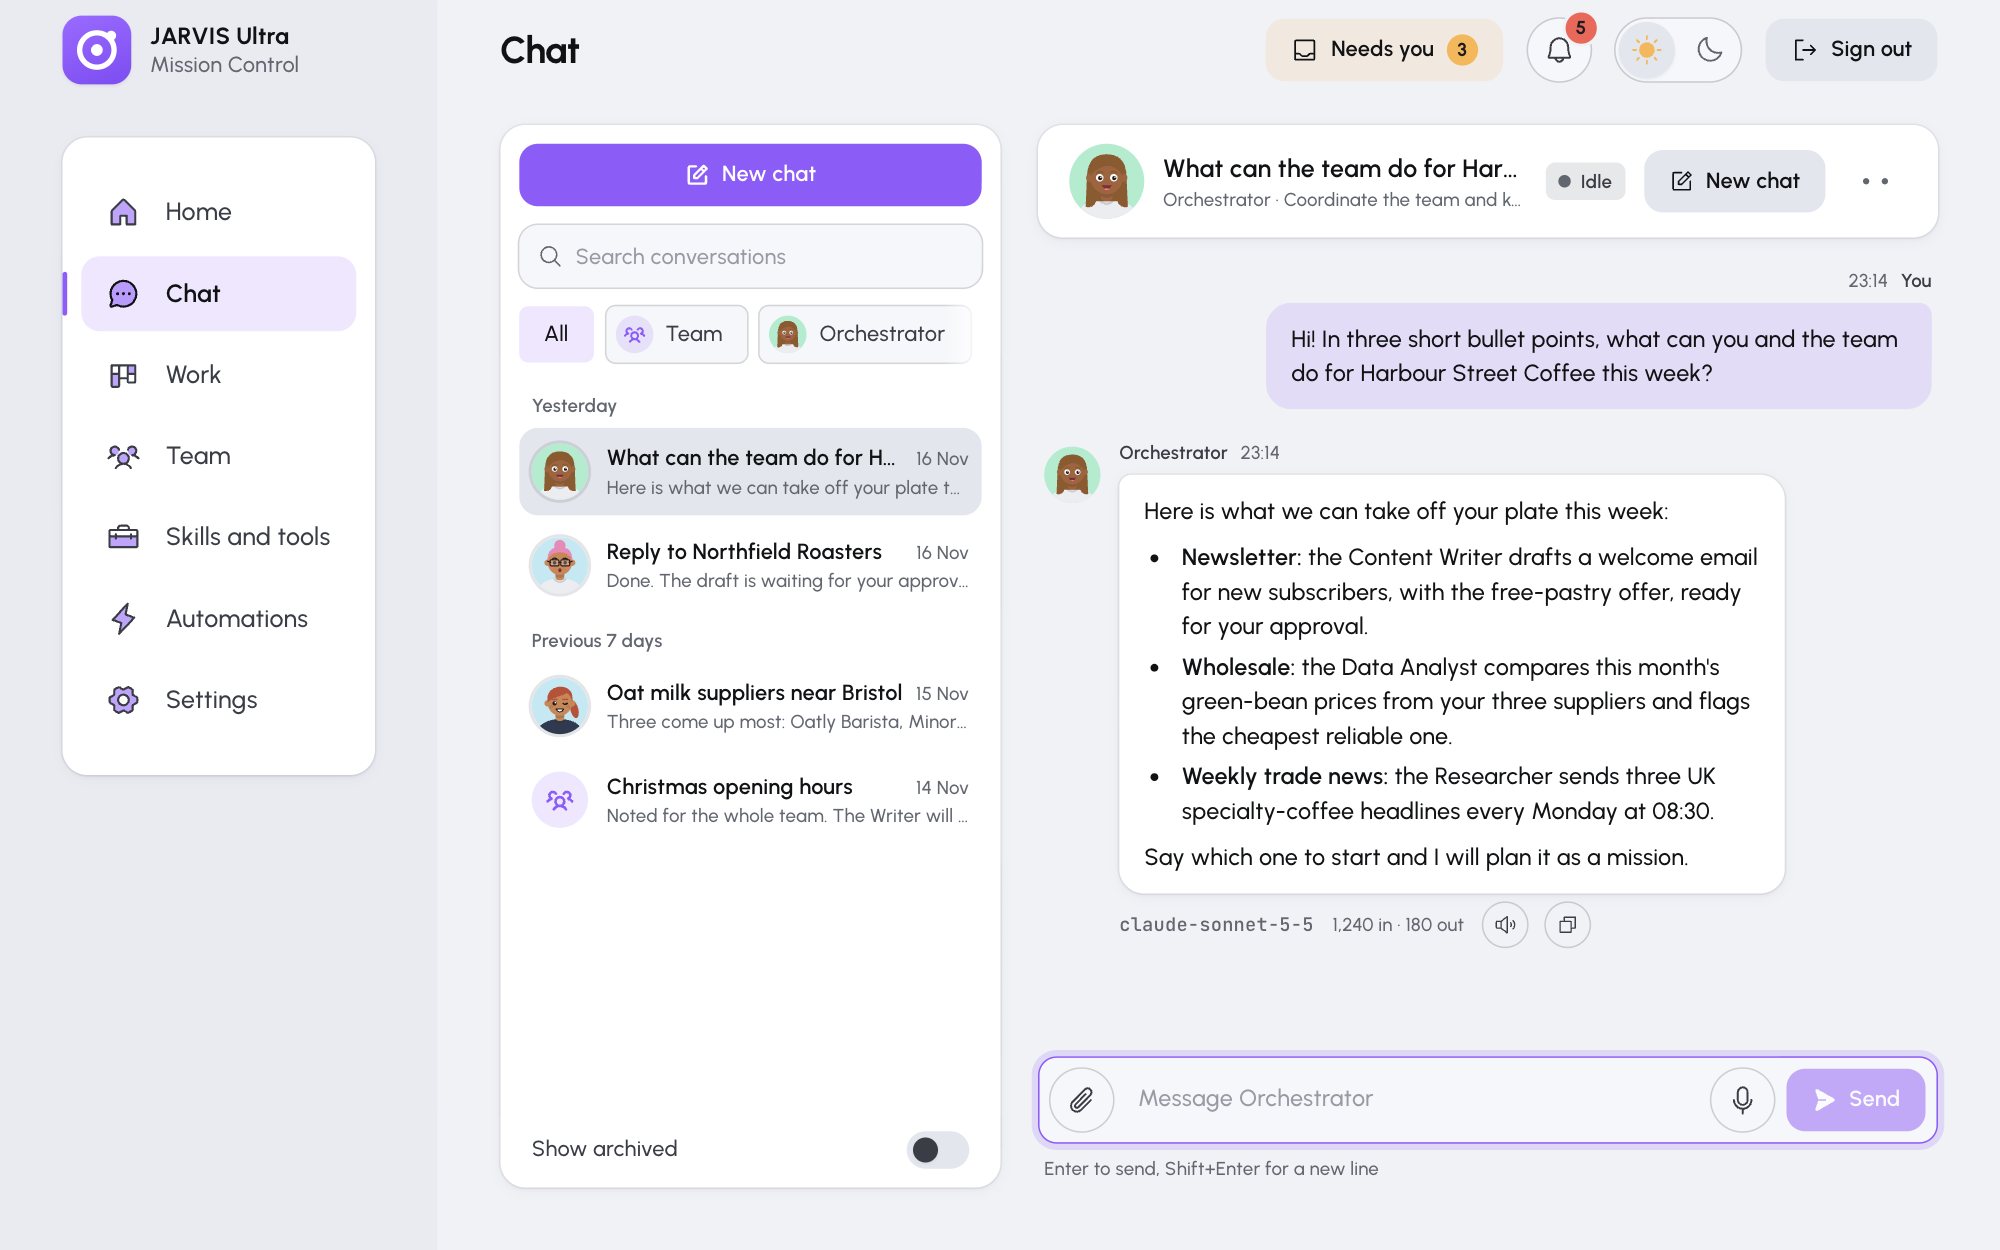
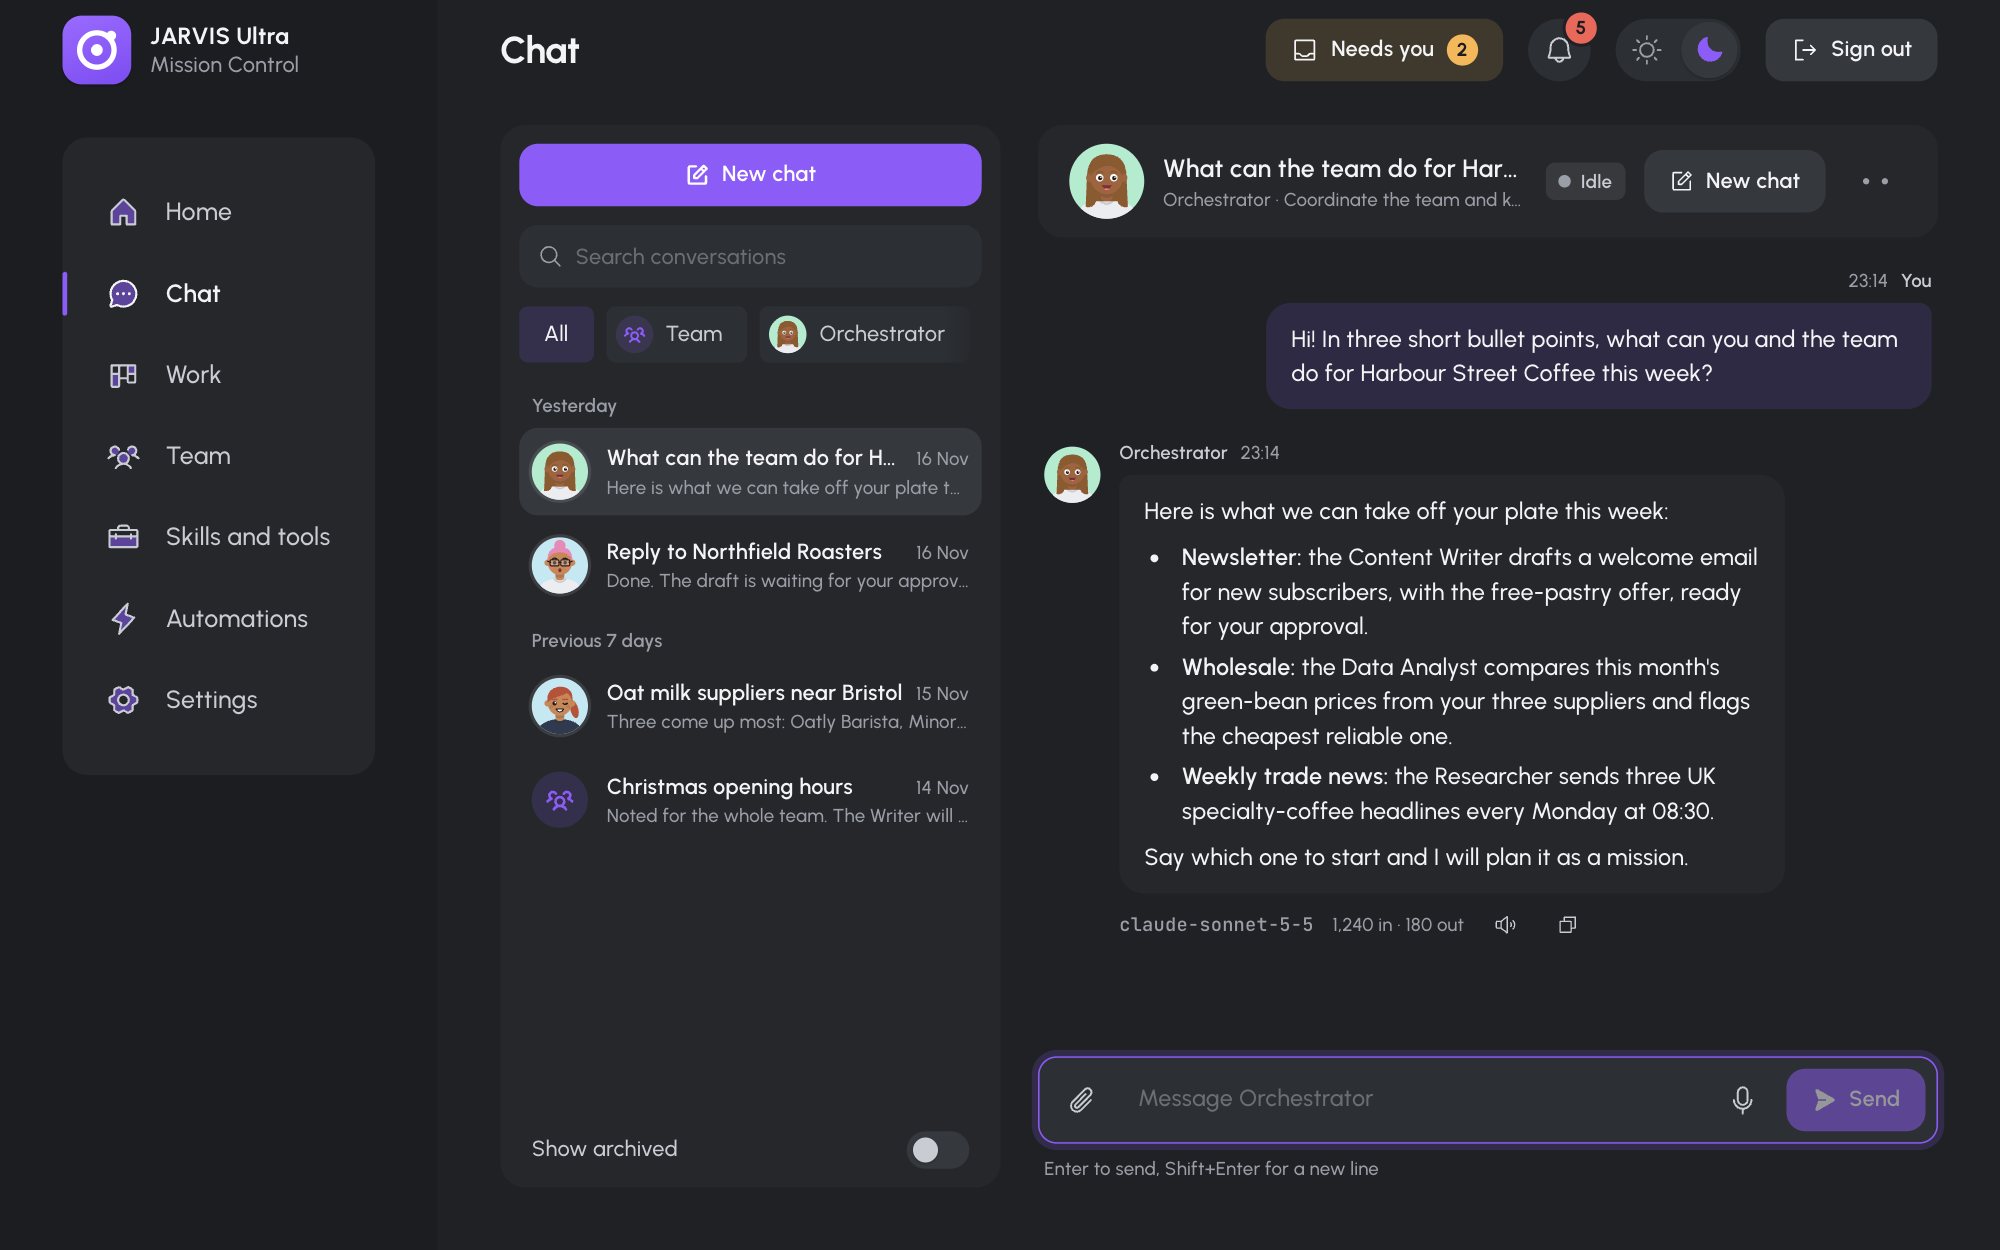
The Orchestrator's reply, with the model and tokens under it.
Part 2: Launch a mission
A mission is a goal the Orchestrator turns into steps, each done by one agent. You approve the plan before any step runs.
-
Open Work. You are on the Missions tab. Press Launch mission.
-
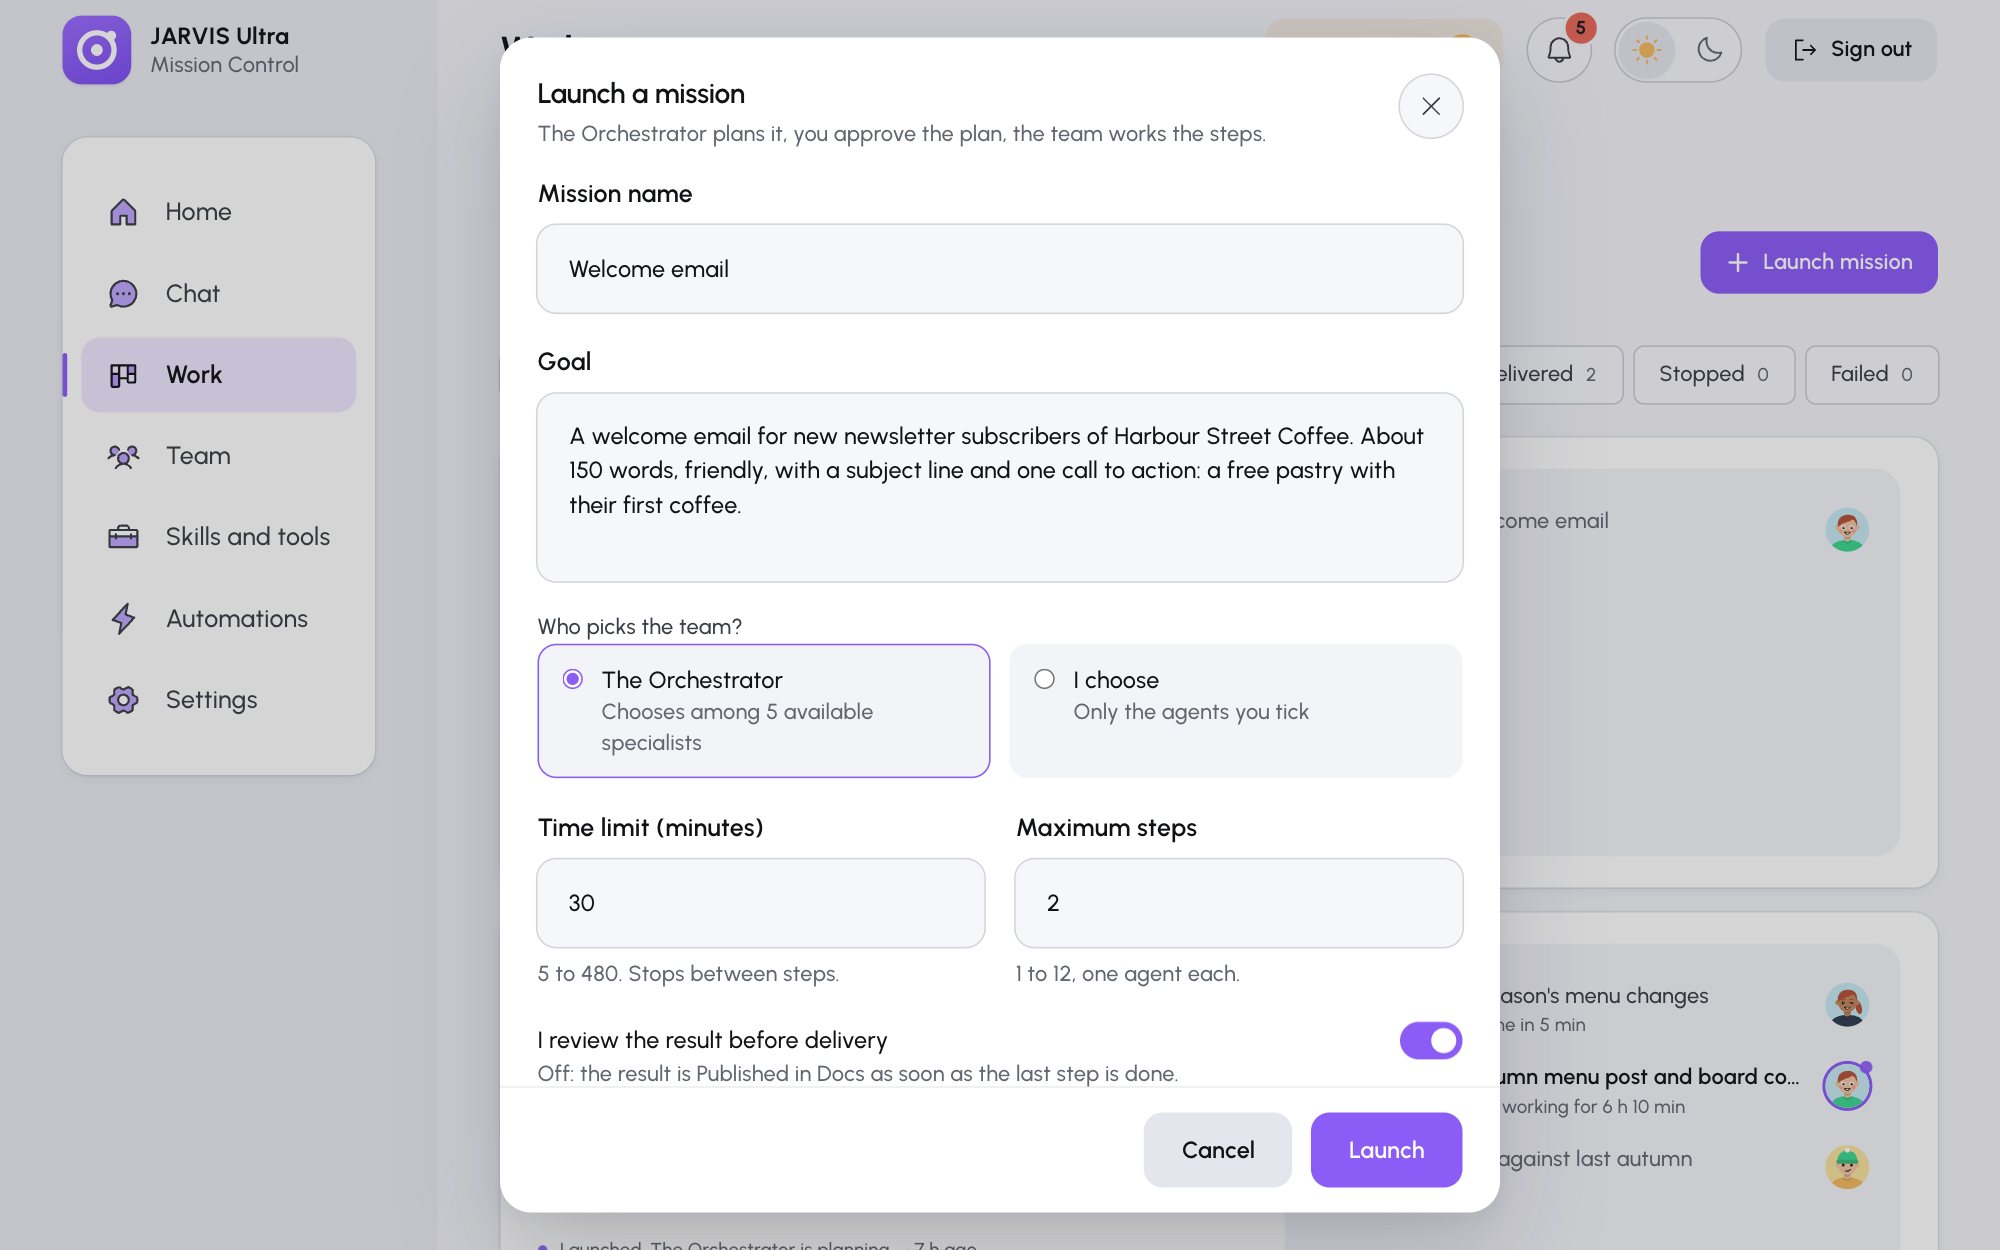
Fill in the form:
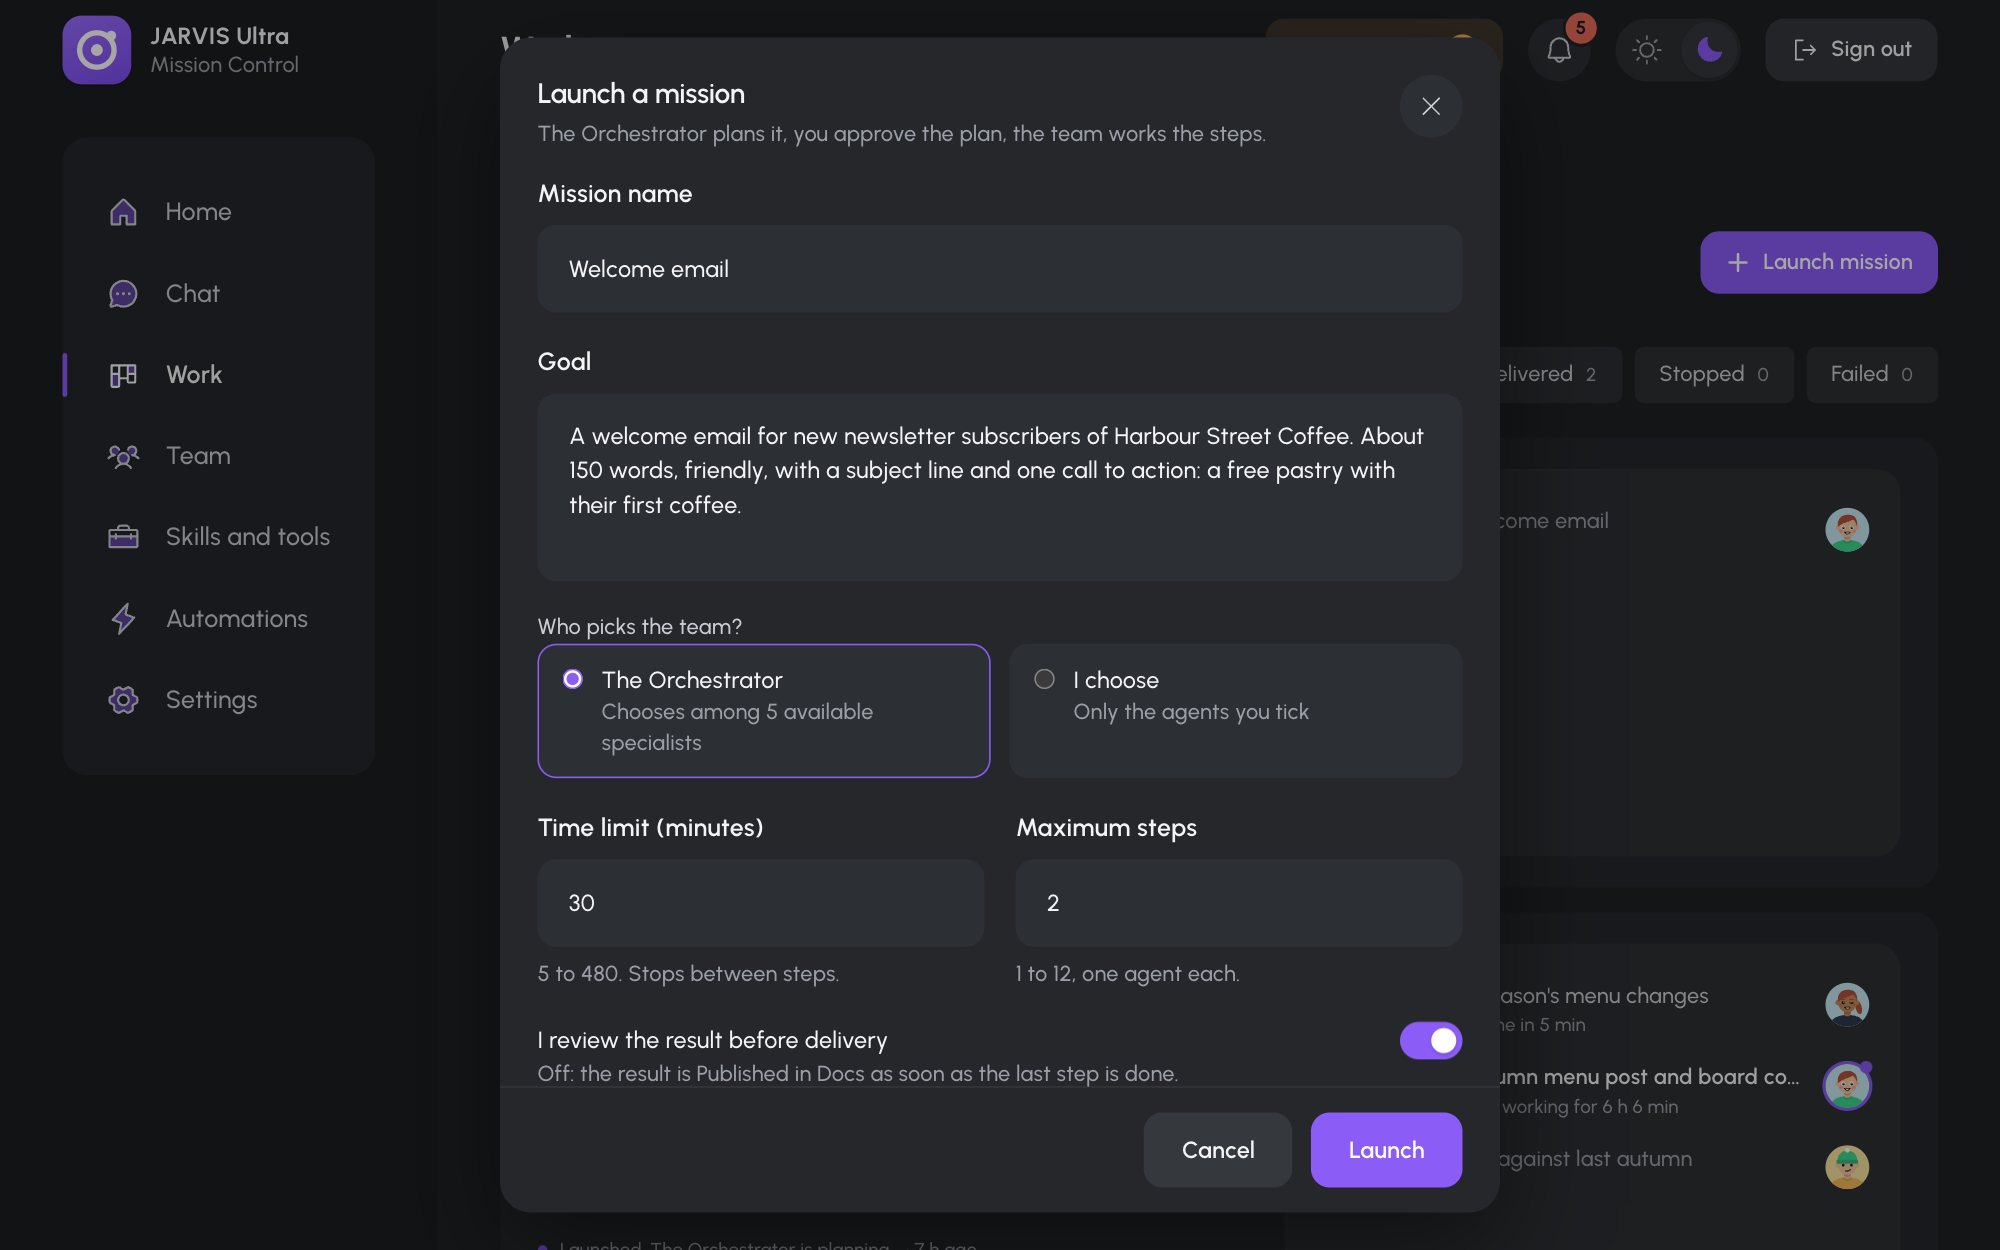
Field Enter Mission name Welcome emailGoal A welcome email for new newsletter subscribers of Harbour Street Coffee. About 150 words, friendly, with a subject line and one call to action: a free pastry with their first coffee.Who picks the team? The Orchestrator Time limit (minutes) 30Maximum steps 2I review the result before delivery On (the default) -
Press Launch. A card for Welcome email appears with the status Planning and "Planning the steps". The Orchestrator is writing the plan, which takes up to a couple of minutes.
-
Wait until the status turns Awaiting approval and the card's button reads Review plan. At the same time the Needs you counter in the top bar goes up by one, and the bell shows a new event. If the status turns Failed, the card says why. Press Replan to let the Orchestrator try again.
Part 3: Approve the plan
-
Press Review plan. The mission drawer opens. Under Plan you see the steps, each with its agent, for example "1. Draft the welcome email" for the Content Writer.
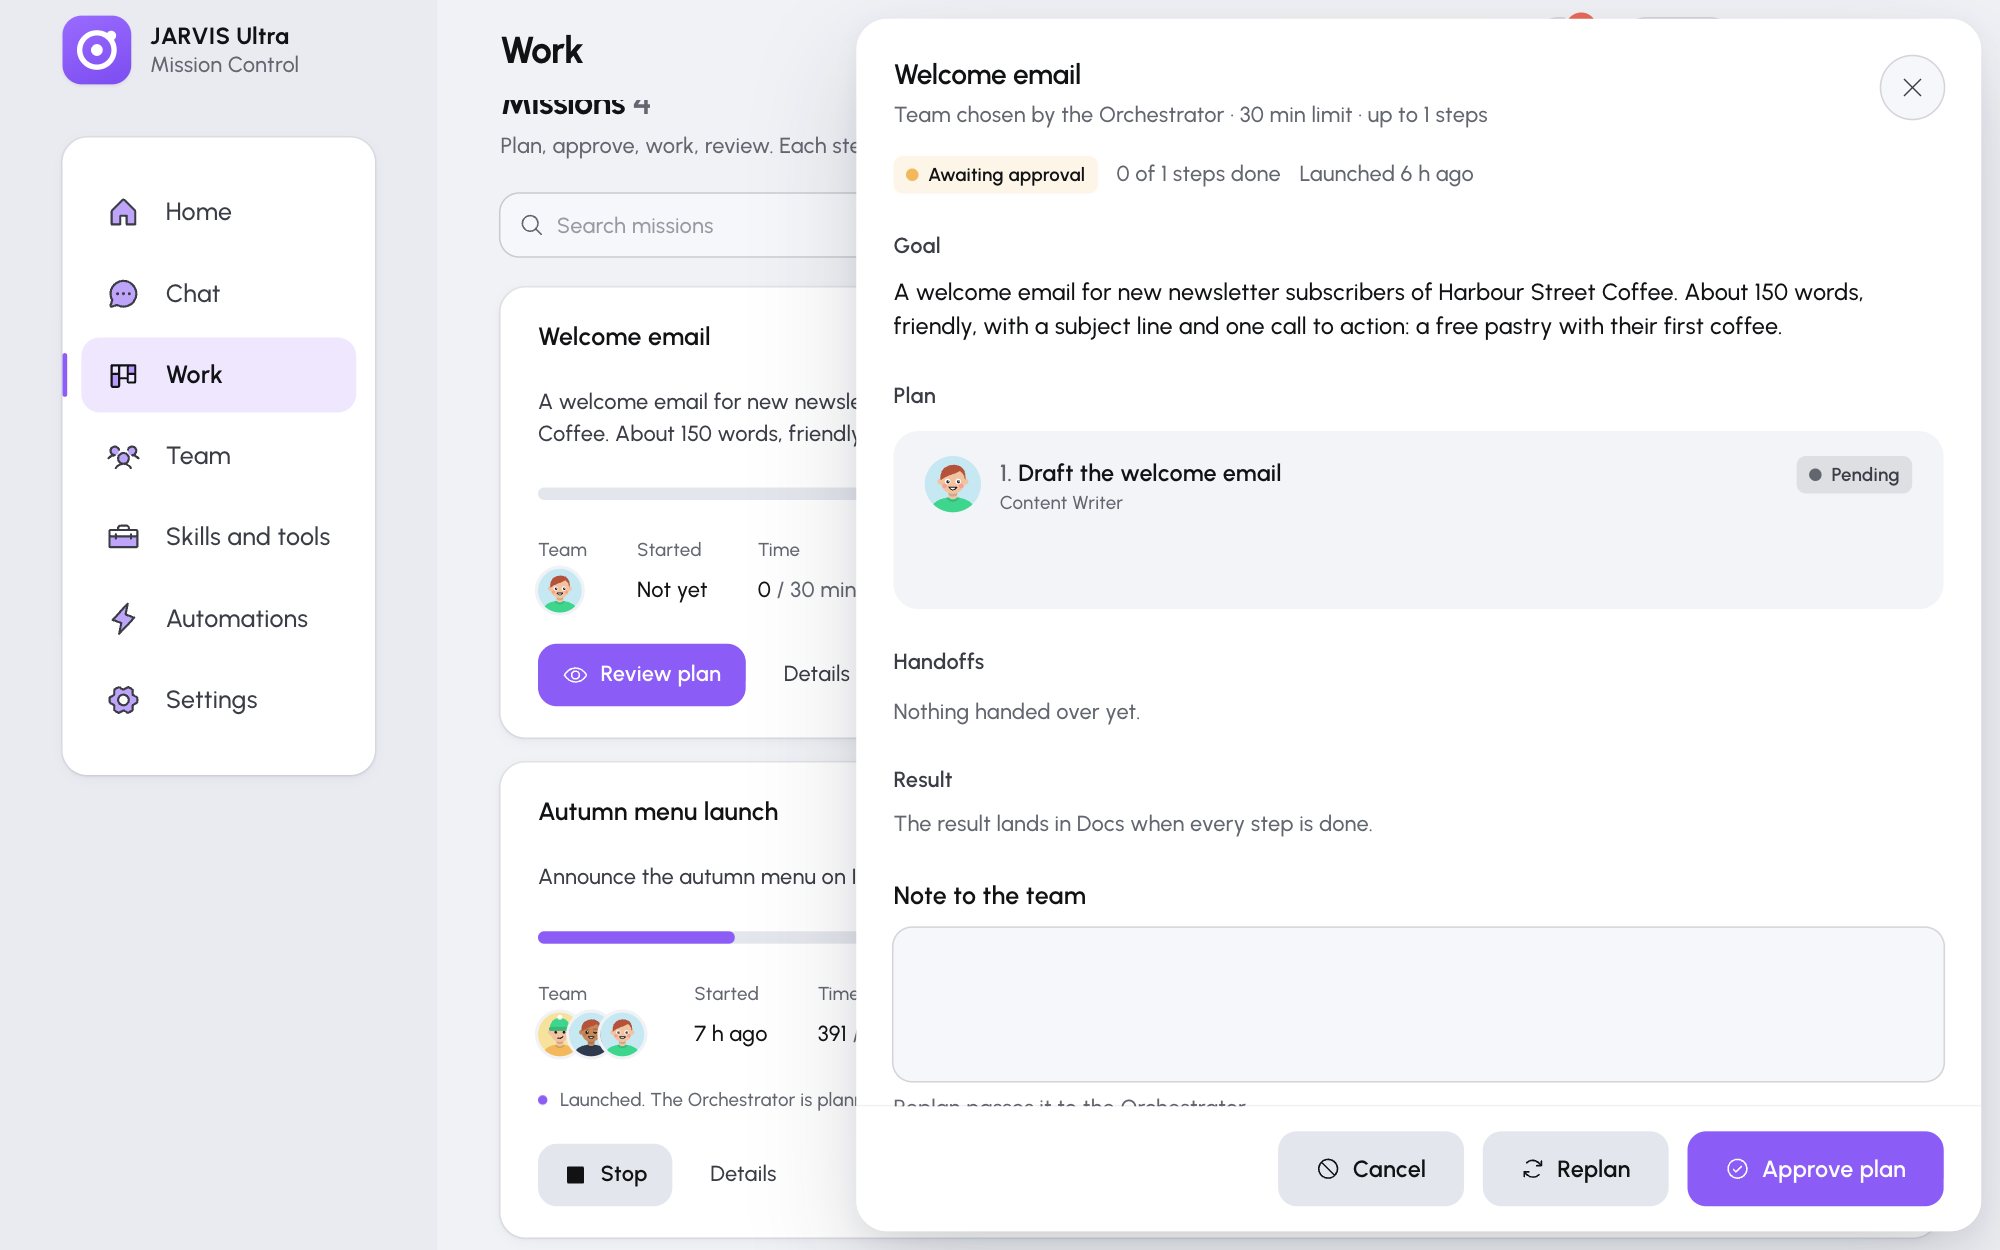
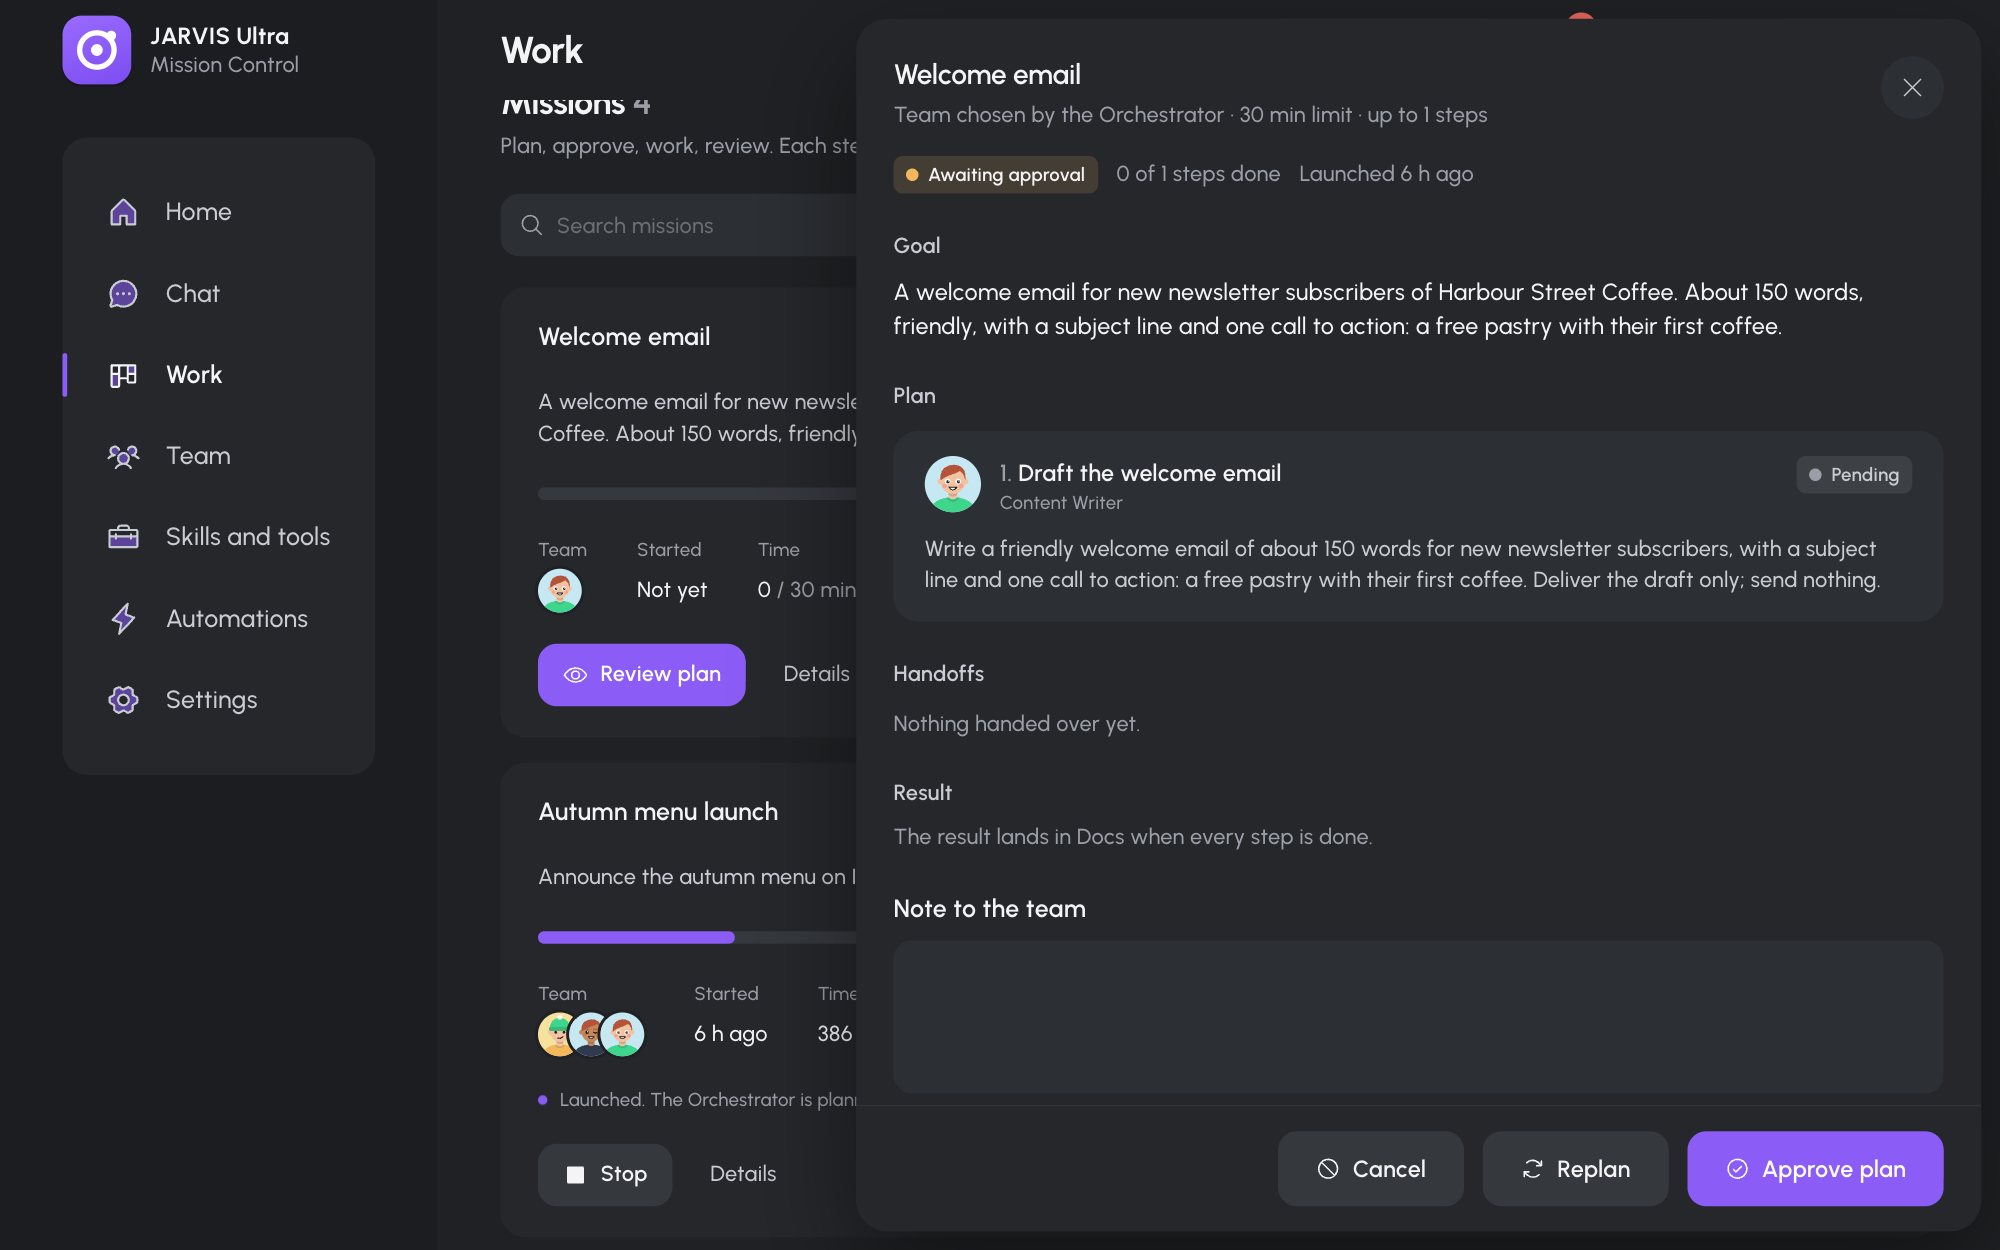
The mission drawer for Welcome email, waiting for Approve plan. -
Press Approve plan. A confirmation says "Plan approved. The team is working." The status turns Running. You can approve the same plan from Home: it waits in the Decision queue as a Mission plan card with Approve plan, Replan and Cancel mission.
-
Watch the steps on the card. The step in progress shows its agent's face and "working for 1 min", and a finished step gets a tick. Open Team to see the mission's crew gather in the mission room of the Office while it runs.
If you would like a different plan, write what should change in Note to the team and press Replan instead. The Orchestrator plans again with your note.
Part 4: Review and accept the result
- When the last step is done, the status turns In review and the button reads Review result. Press it. Under Result the drawer says "Filed in Docs as a Mission result, In review."
- Press Open in Docs to read the email. The document opens in Work > Docs. Read it, then close the drawer and go back to Missions.
- Choose one:
- If the email is good, press Review result again, then Accept result. A confirmation says "Result accepted and Published in Docs." The status turns Delivered.
- If it needs work, write a note such as
Shorter, and mention we roast our own beans.in Note to the team and press Send back. The last step runs again with your note, and the mission comes back to In review.
Part 5: Find it in Docs
-
Open Work > Docs. The library lists documents grouped by date. Welcome email is at the top under Today, with the Orchestrator as author and the status Published.
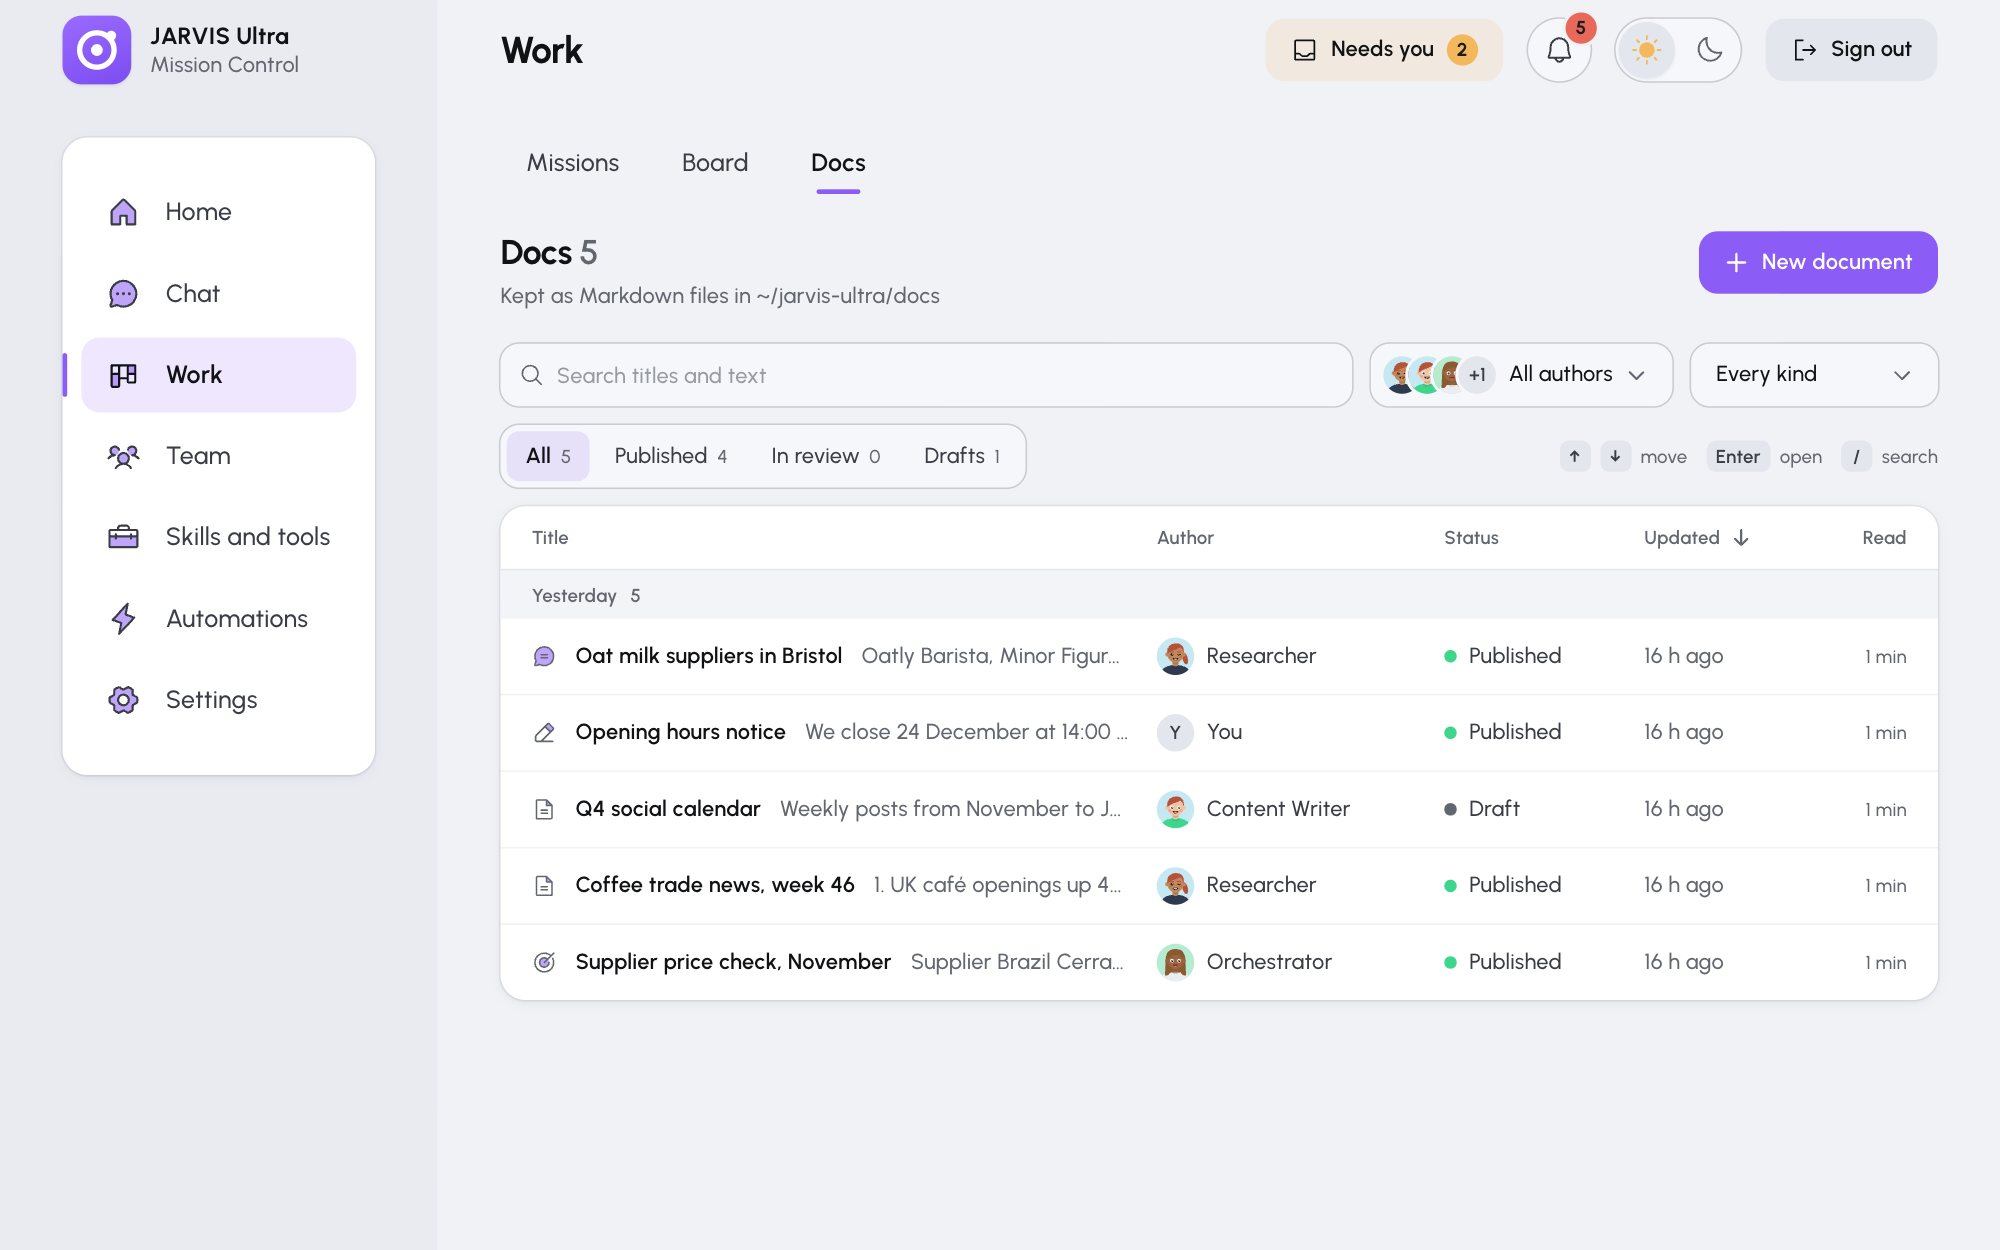
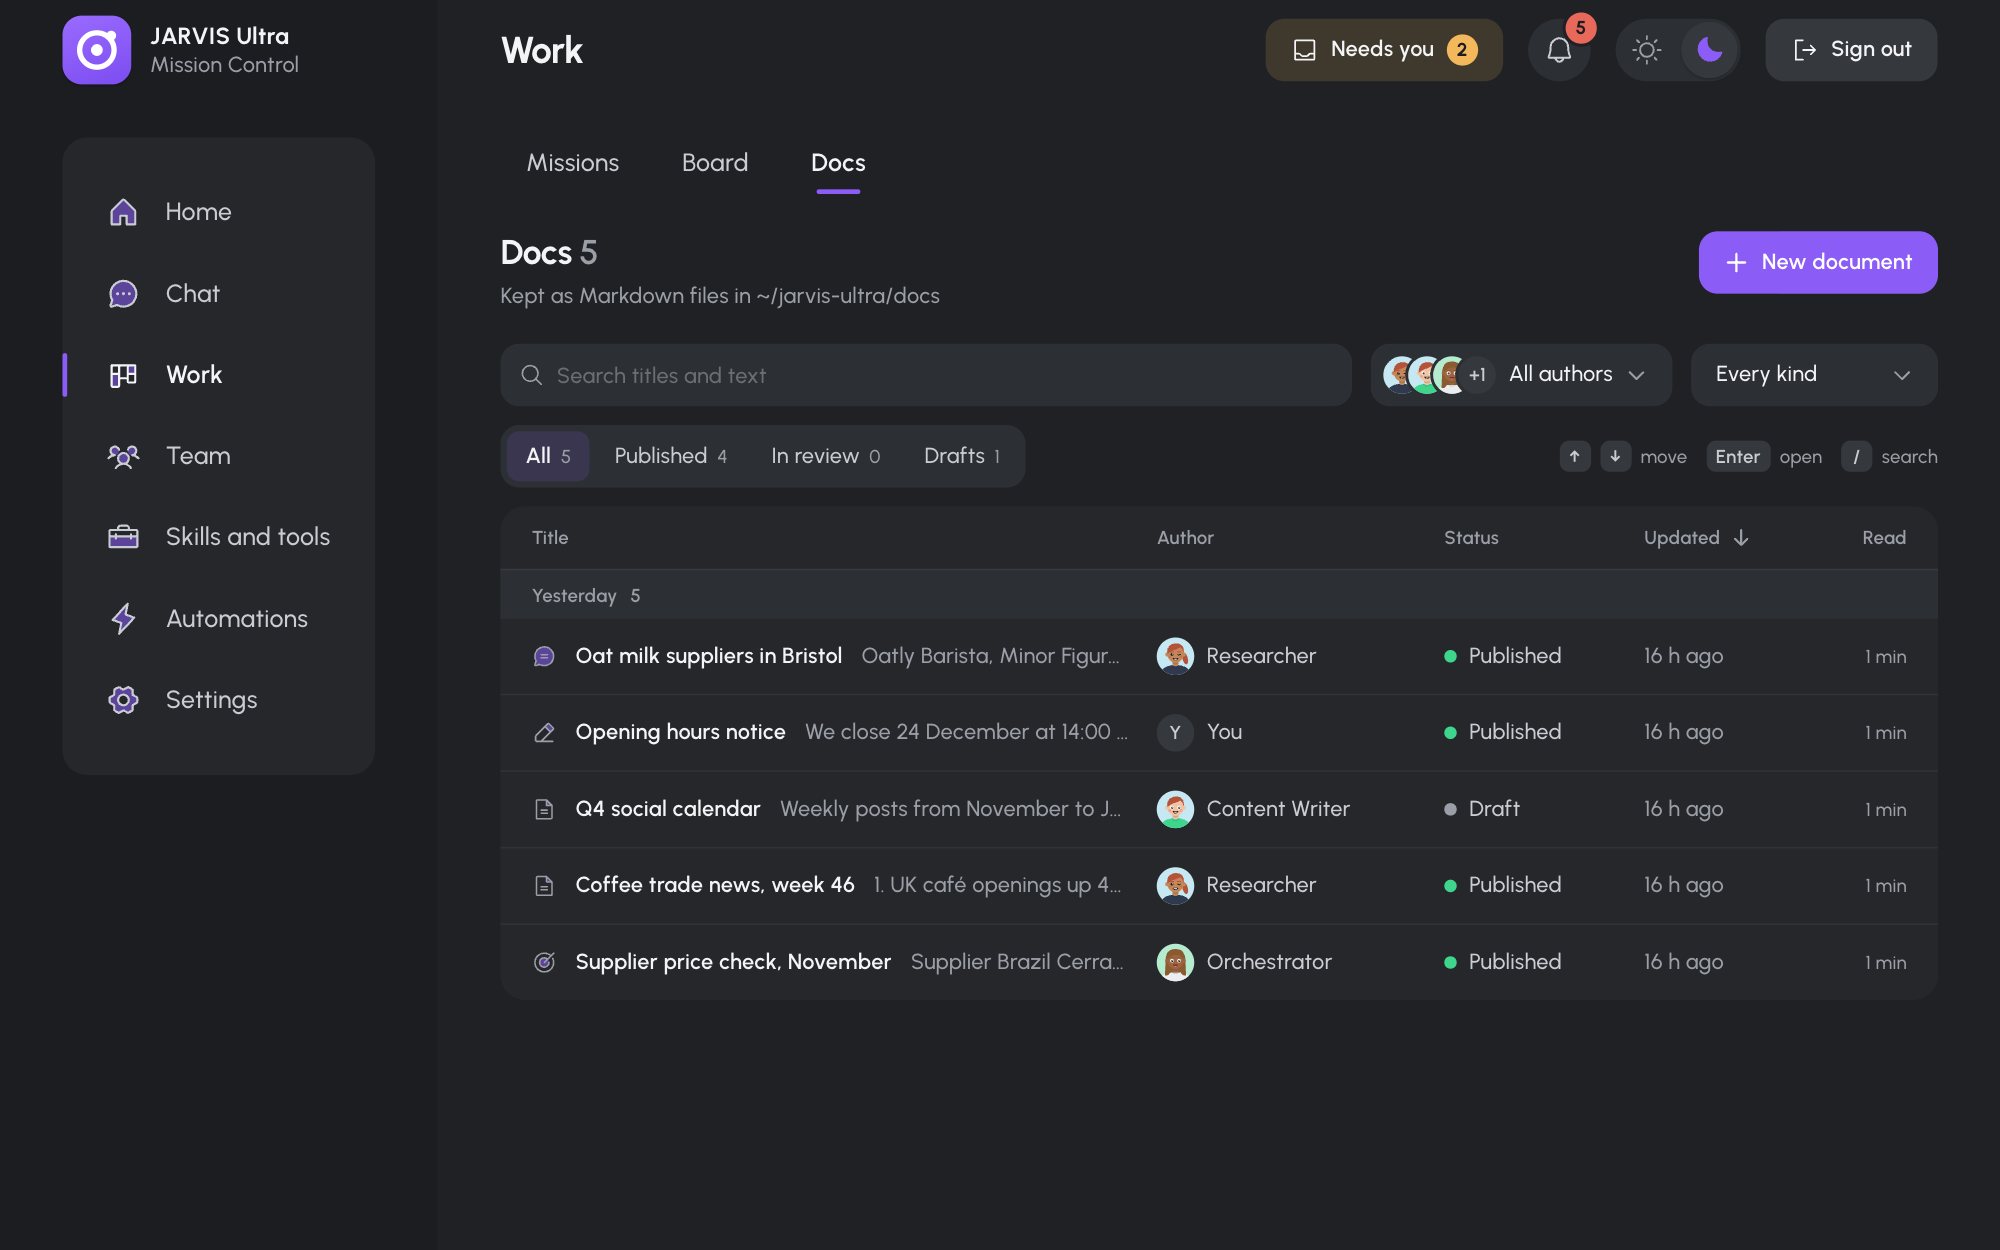
Work > Docs, grouped by date, with author and status on each row. -
Type
pastryin the search box. Titles and previews match at once; the text of every document is searched after a short pause. -
Click the document. In the drawer, .md downloads it as a Markdown file and Print prints it. Edit lets you change it. The file itself is in
docs/orchestrator/in your JARVIS Ultra folder, named with today's date.
Part 6: Schedule a weekly job
A job asks one agent to do the same task on a schedule. Each run's reply lands on the Board for you to review.
-
Open Automations and choose the Schedules tab. Press New job. The drawer says "New jobs start paused. Press Start when it looks right."
-
Fill in the form:
Field Enter Name Coffee trade newsAssigned agent Researcher Task brief Find three news items from the past week about the UK specialty coffee trade. One line each, with the source link.Priority Medium Schedule Once a week Day Monday Time 08:30Time zone Europe/London(pick your own) -
Check Next three runs: it lists the next three Mondays at 08:30.
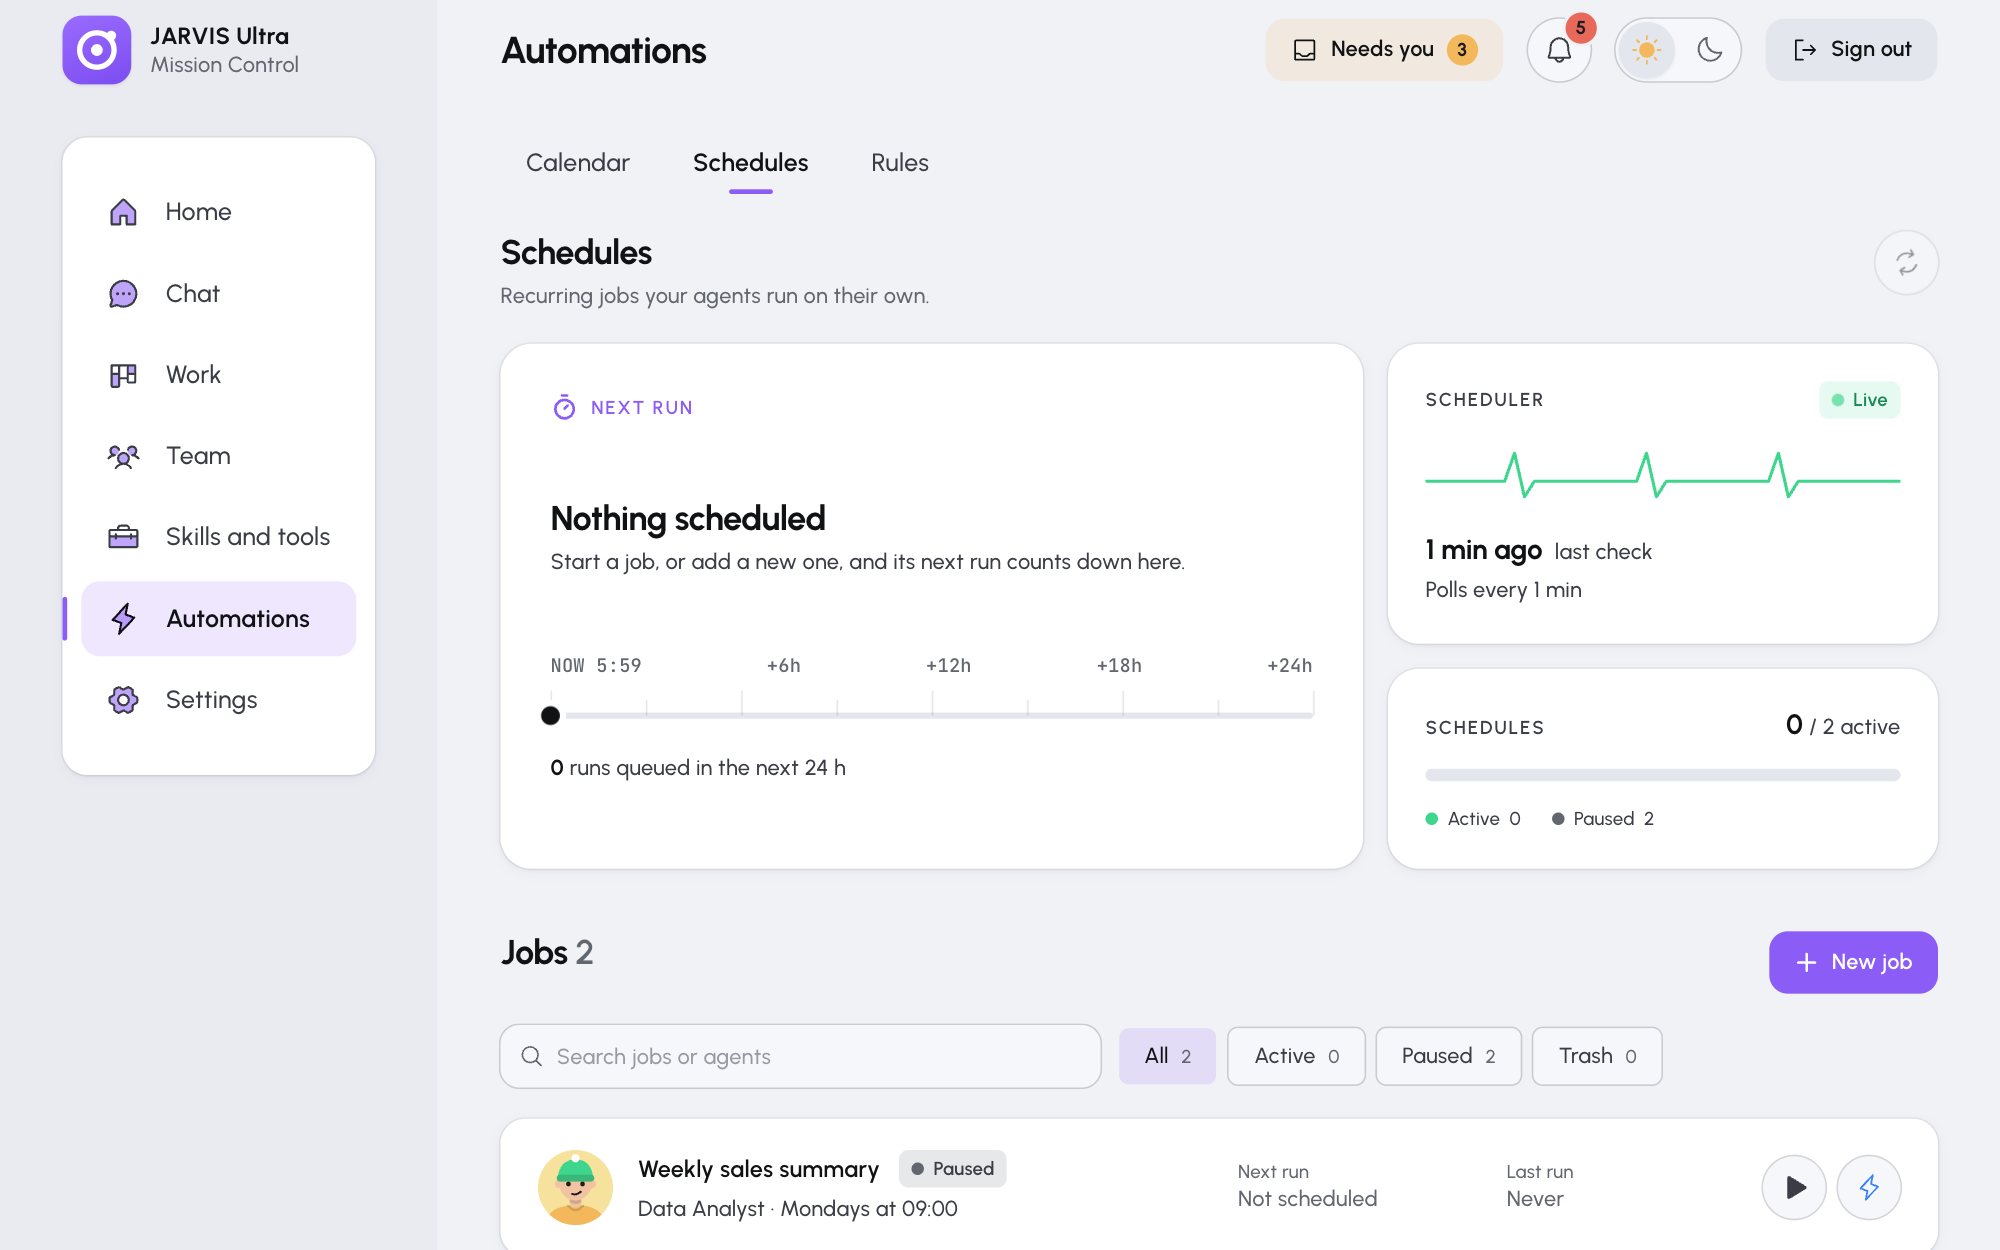
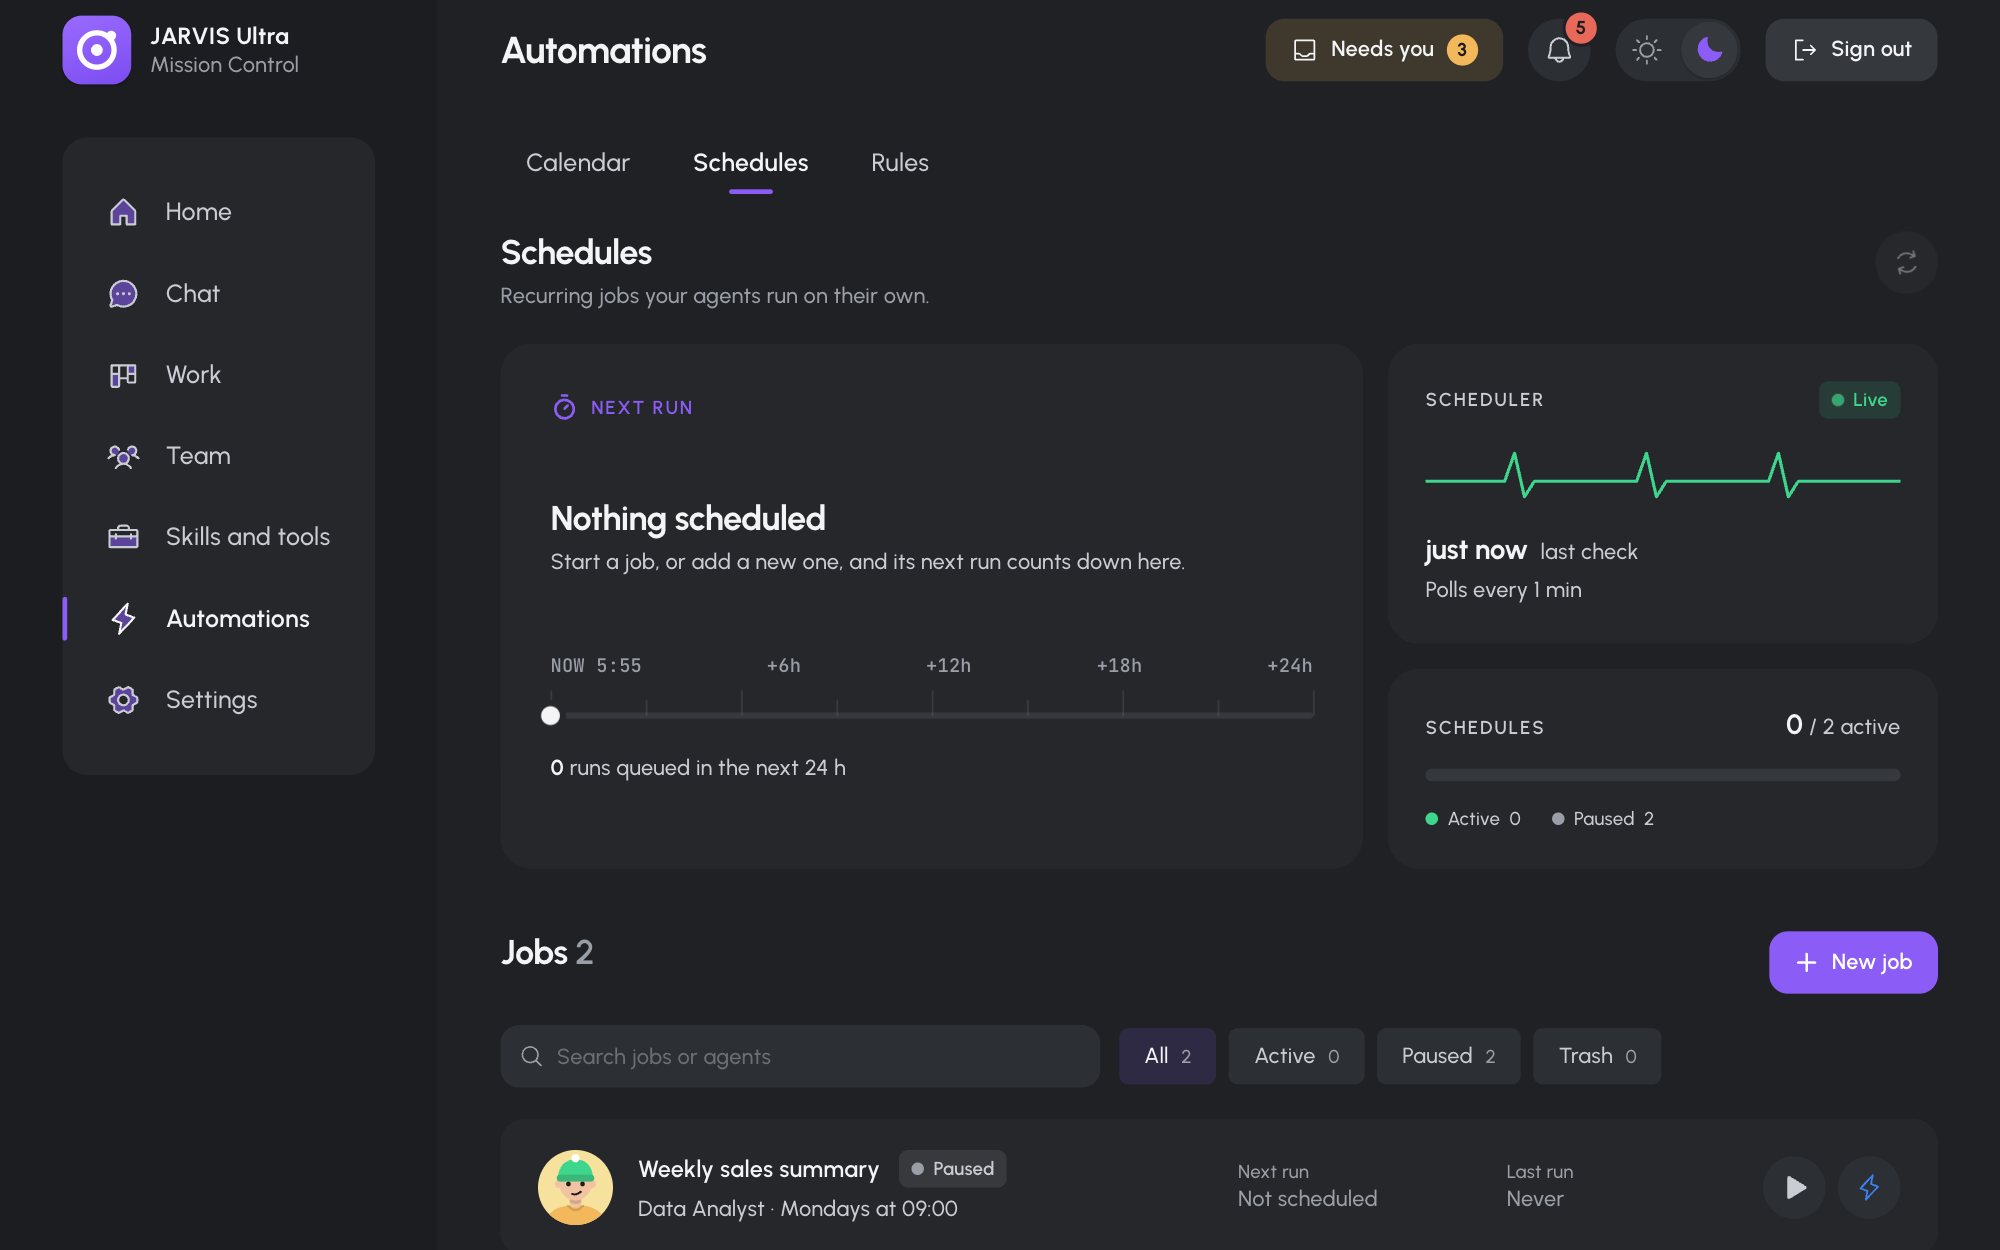
Automations > Schedules with the weekly Coffee trade news job. -
Press Create job, then Start. The job is now on its schedule. Its next run shows on Home under Up next and on the Calendar tab.
-
To see a result now, press Run now. The run takes a minute or two and spends one turn. When it finishes, the bell shows a Schedule event.
-
Open Work > Board. A card titled Coffee trade news sits in the Review column, with the Researcher's three news items in its description. Drag it to Done once you have read it, or use its move menu.
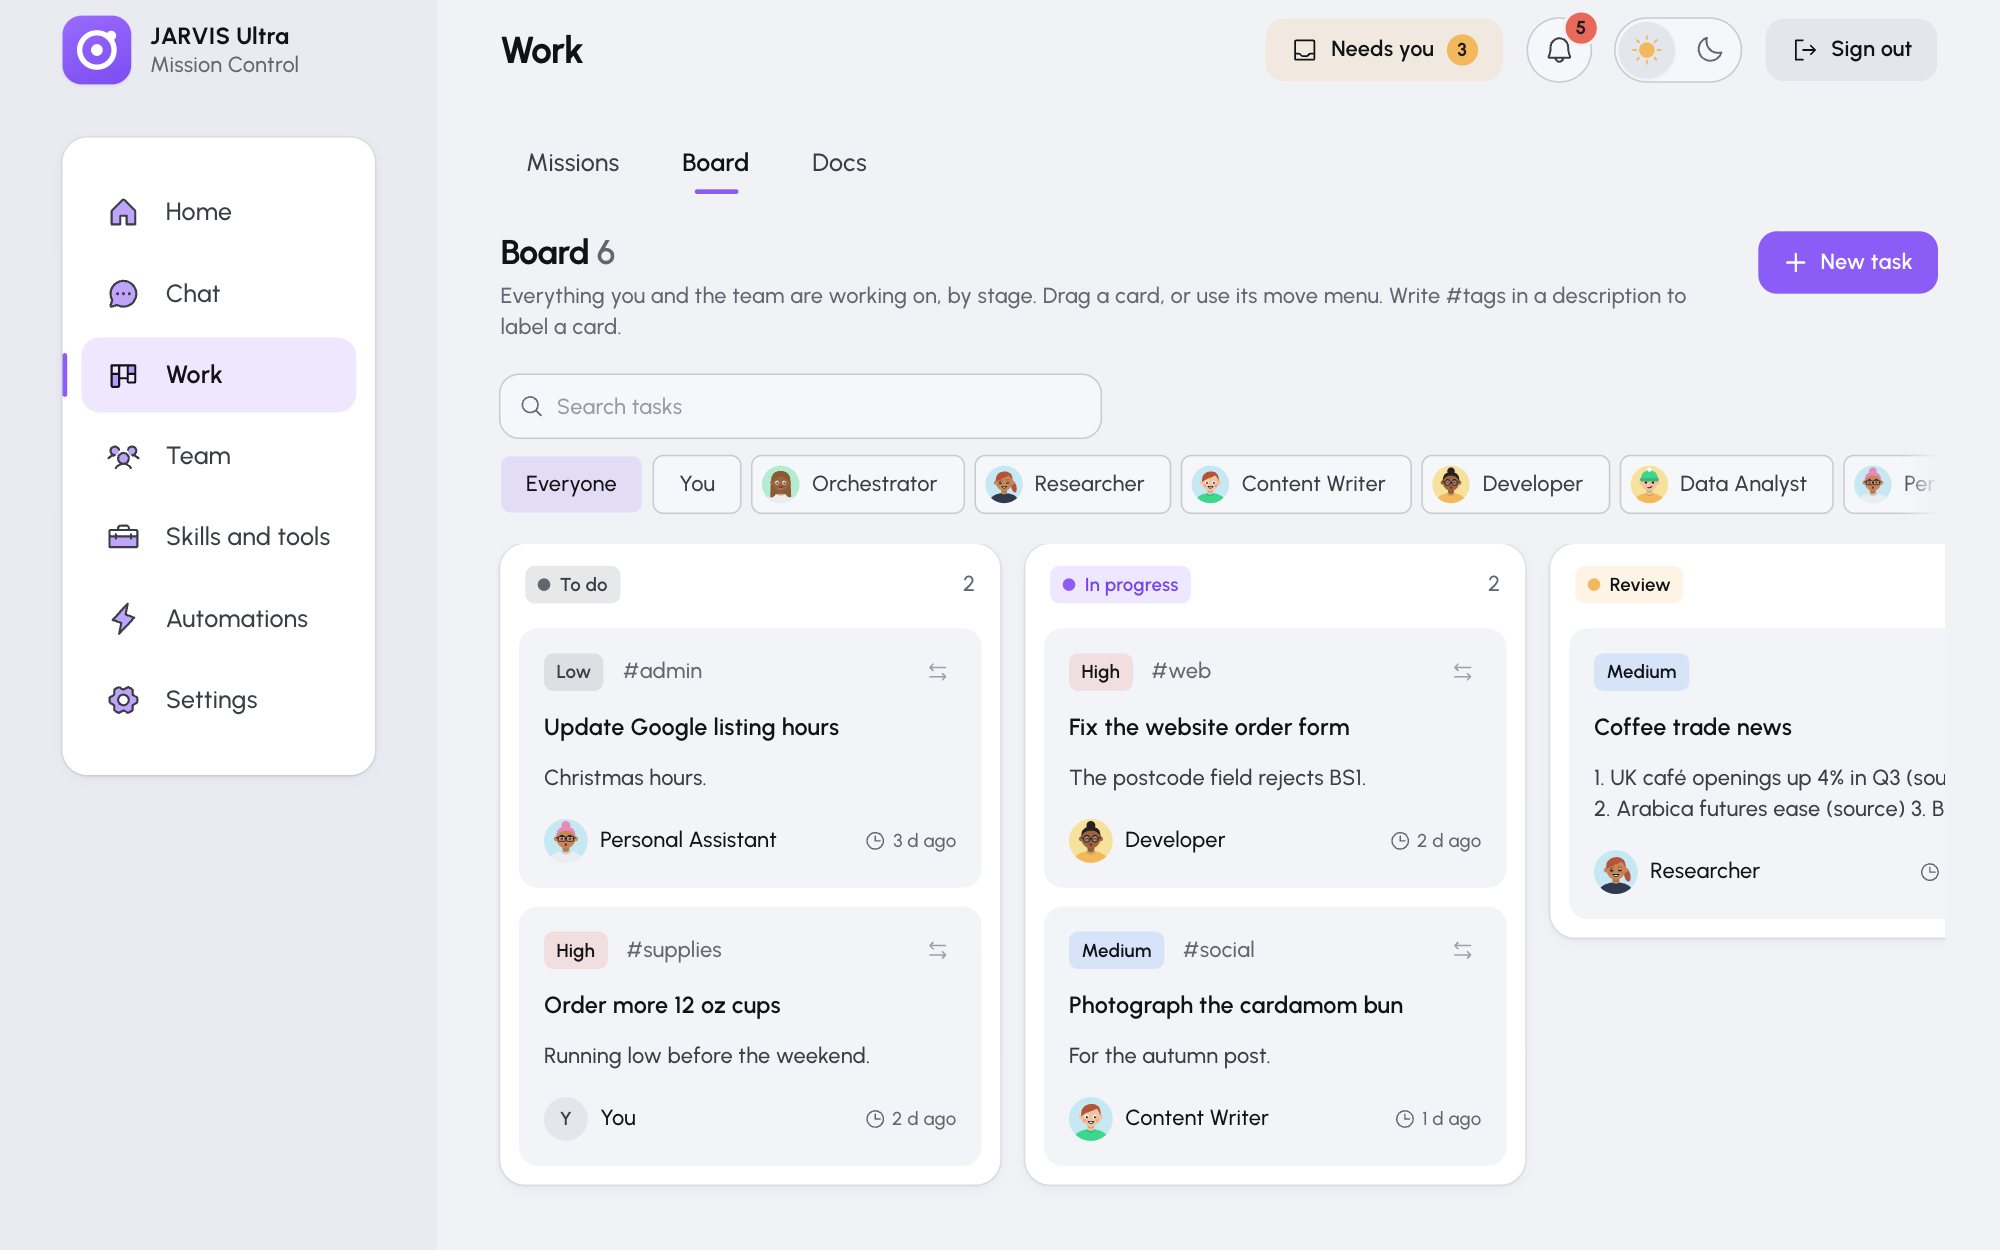
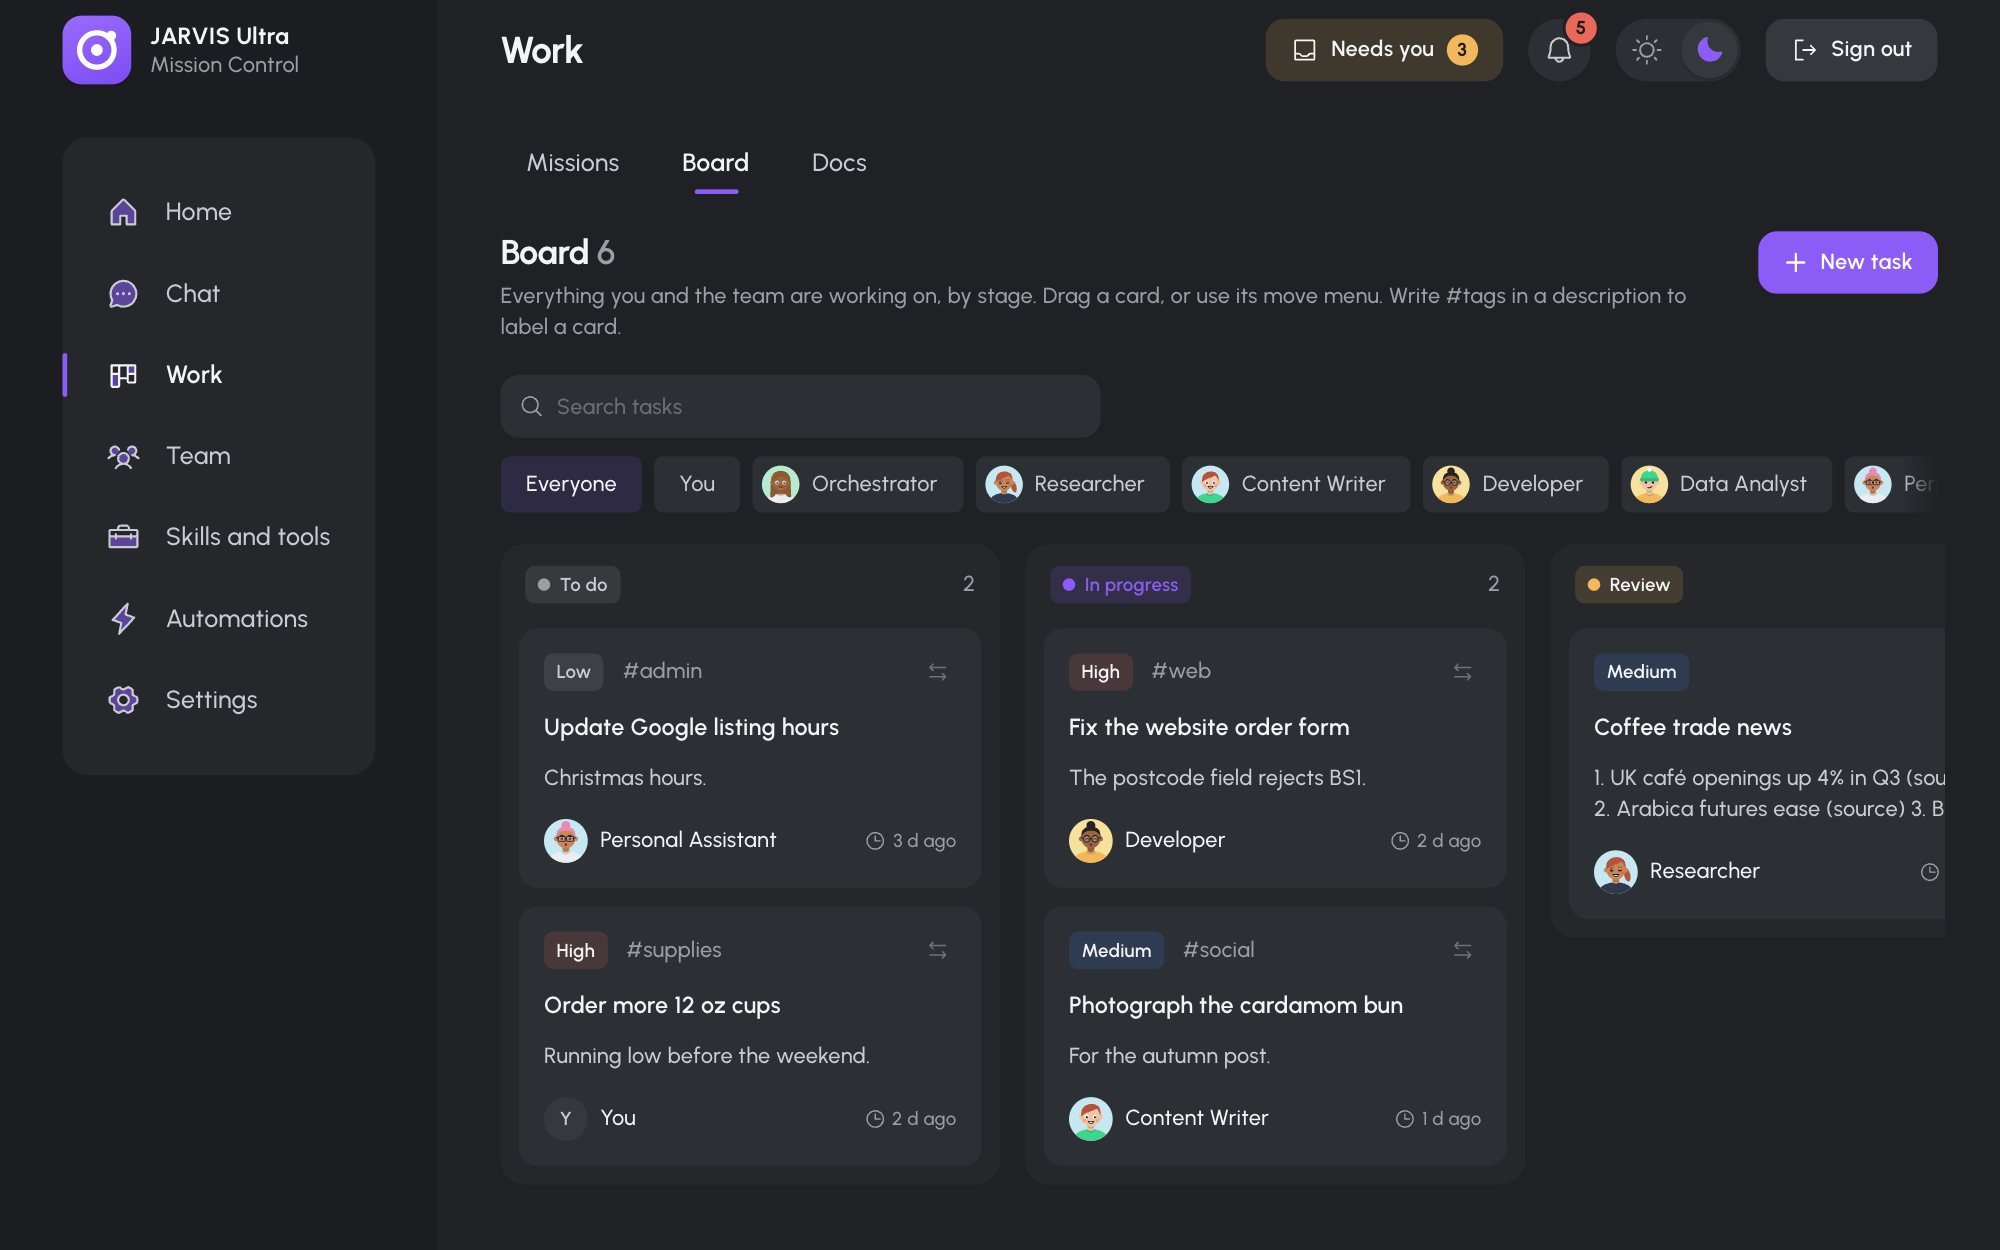
The run's reply waits in the Review column of the Board.
Tidy up (optional)
- To stop the weekly job, open it on Automations > Schedules and press Stop. Move to Trash removes it; Trash keeps it until you Restore it.
- To clear the mission from the list, press Archive on its card. It moves to the Archived filter, and its document stays in Docs.
What next
- Decide what the team asks: drafts agents ask you to approve before anything is sent.
- Create a trigger rule: let the team react to an email, a Slack message or a web page.
- Connect apps through Composio: give agents your Gmail, Calendar or Slack, behind your approval.
- Missions and approvals: how a mission moves from goal to delivery.